体验一下我的部署效果
一键下载热门网络视频到本地,尽情的二次创作、收藏、抄袭、补档吧
创建后端API 服务
- 首先,创建一个目录用于存放 Cobalt 的配置文件,例如:
mkdir cobalt
- 进入 Cobalt 目录,并创建 Docker Compose 配置文件:
cd cobalt && nano docker-compose.yml
- 复制并粘贴此处的示例配置,并根据您的需求进行修改。务必将默认 URL 替换为您自己的 URL,否则 Cobalt 将无法正常工作。
services:
    cobalt-api:
        image: ghcr.io/imputnet/cobalt:10

        init: true
        read_only: true
        restart: unless-stopped
        container_name: cobalt-api

        ports:
            - 9000:9000/tcp
            # if you use a reverse proxy (such as nginx),
            # uncomment the next line and remove the one above (9000:9000/tcp):
            # - 127.0.0.1:9000:9000

        environment:
            # replace https://api.url.example/ with your instance's url
            # or else tunneling functionality won't work properly
            API_URL: "https://api.url.example/"

            # if you want to use cookies for fetching data from services,
            # uncomment the next line & volumes section
            # COOKIE_PATH: "/cookies.json"

            # it's recommended to configure bot protection or api keys if the instance is public,
            # see /docs/protect-an-instance.md for more info

            # see /docs/run-an-instance.md for more variables that you can use here

        labels:
            - com.centurylinklabs.watchtower.scope=cobalt

        # uncomment only if you use the COOKIE_PATH variable
        # volumes:
            # - ./cookies.json:/cookies.json

    # watchtower updates the cobalt image automatically
    watchtower:
        image: ghcr.io/containrrr/watchtower
        restart: unless-stopped
        command: --cleanup --scope cobalt --interval 900 --include-restarting
        volumes:
            - /var/run/docker.sock:/var/run/docker.sock
-
最后,启动 Cobalt 容器(在 Cobalt 目录下):
docker compose up -d
若您的实例需要支持某些服务,而这些服务要求通过身份验证才能查看公开内容,请在与
docker-compose.yml相同的目录下创建cookies.json文件。示例 cookies 文件可在此处找到。
部署前端页面
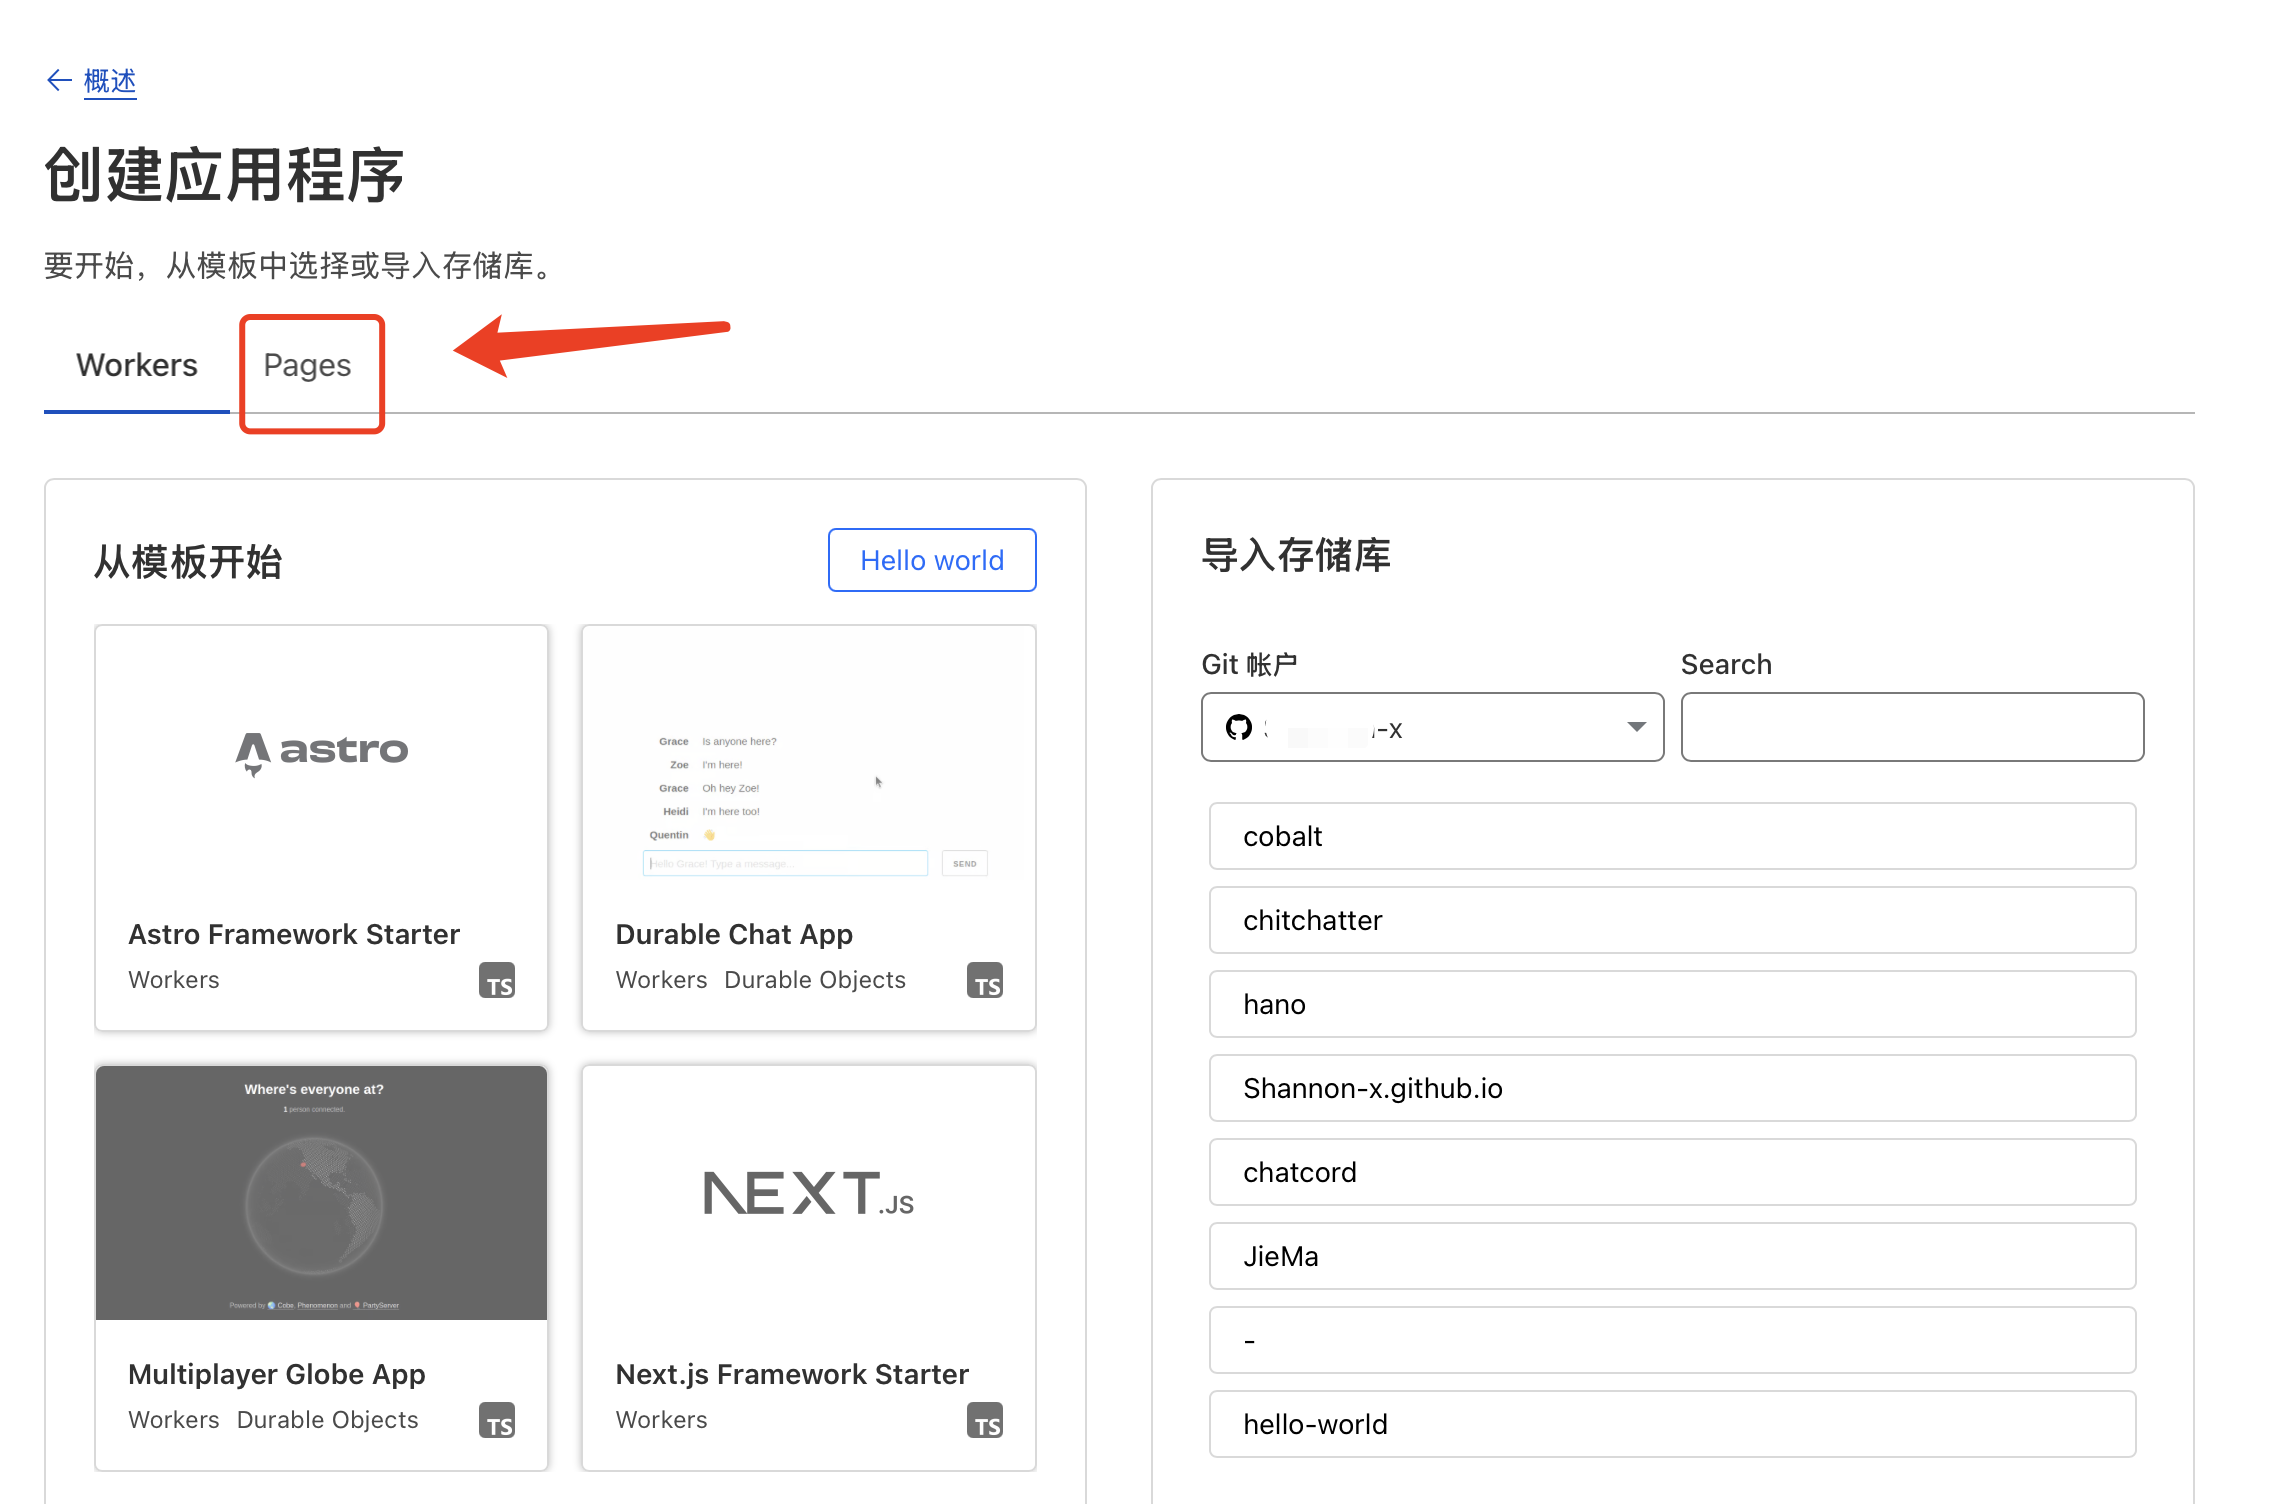
1、将GitHub项目fork到自己的仓库
项目地址:GitHub - imputnet/cobalt: best way to save what you love
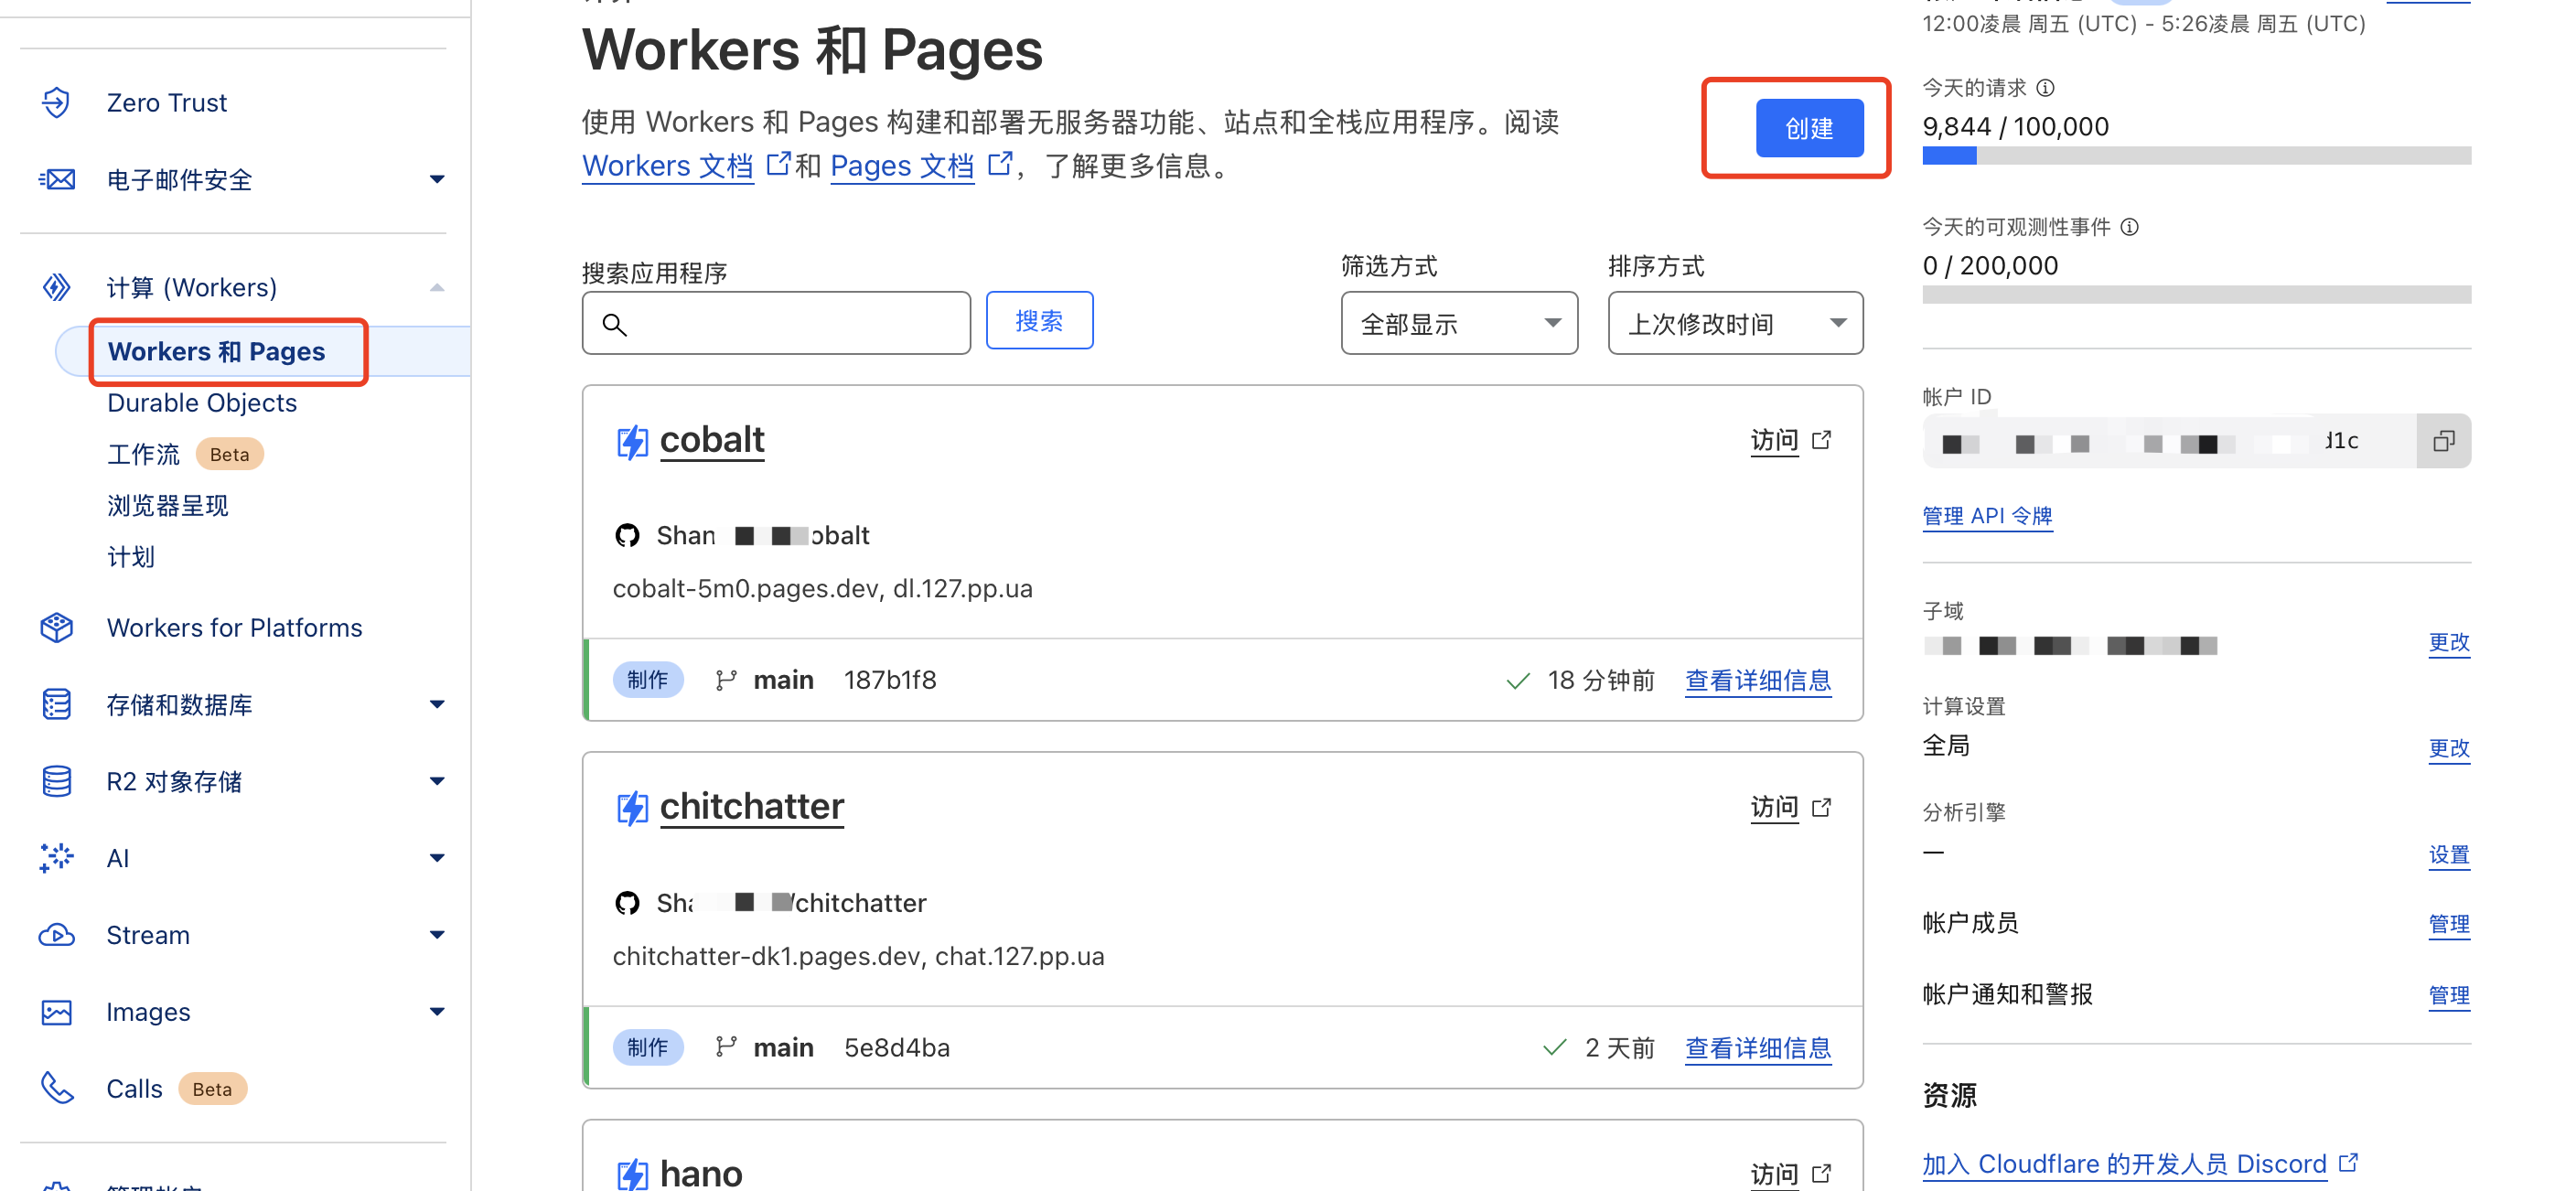
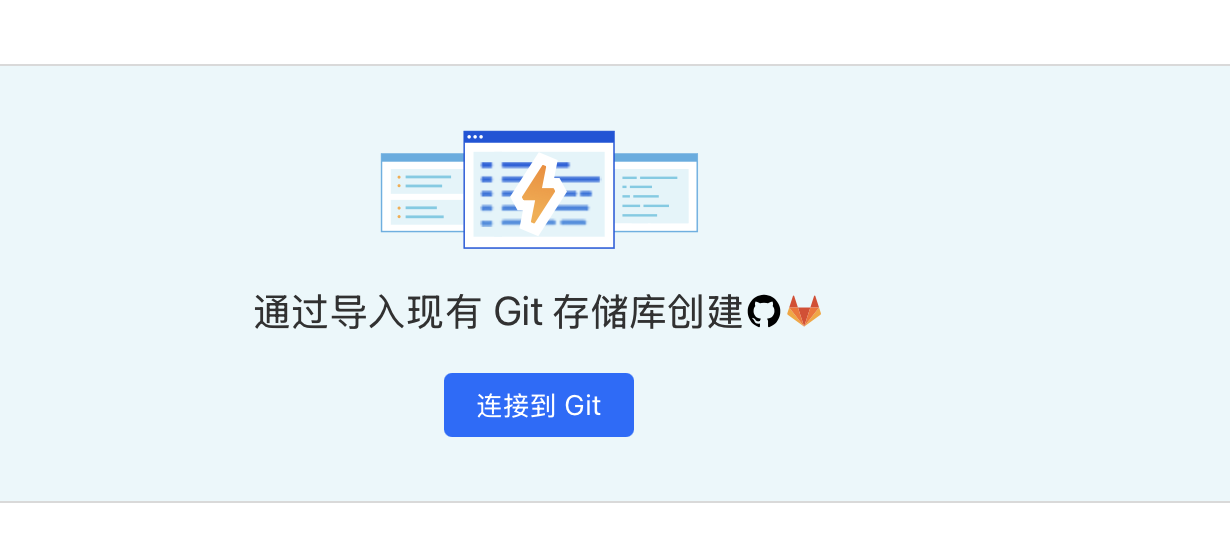
2、创建cloudflare page
构建命令:
pnpm run build
构建输出目录:
build
根目录(高级):
web
环境变量(高级)
一共四个环境变量
| 纯文本 | NODE_VERSION |
20 | |
|---|---|---|---|
| 纯文本 | WEB_DEFAULT_API |
你的后端API域名地址 | |
| 纯文本 | WEB_HOST |
sufe下载器(你喜欢的名字) | |
| 纯文本 | WEB_PLAUSIBLE_HOST |
plausible.io(谷歌分析的地址,没啥用) |
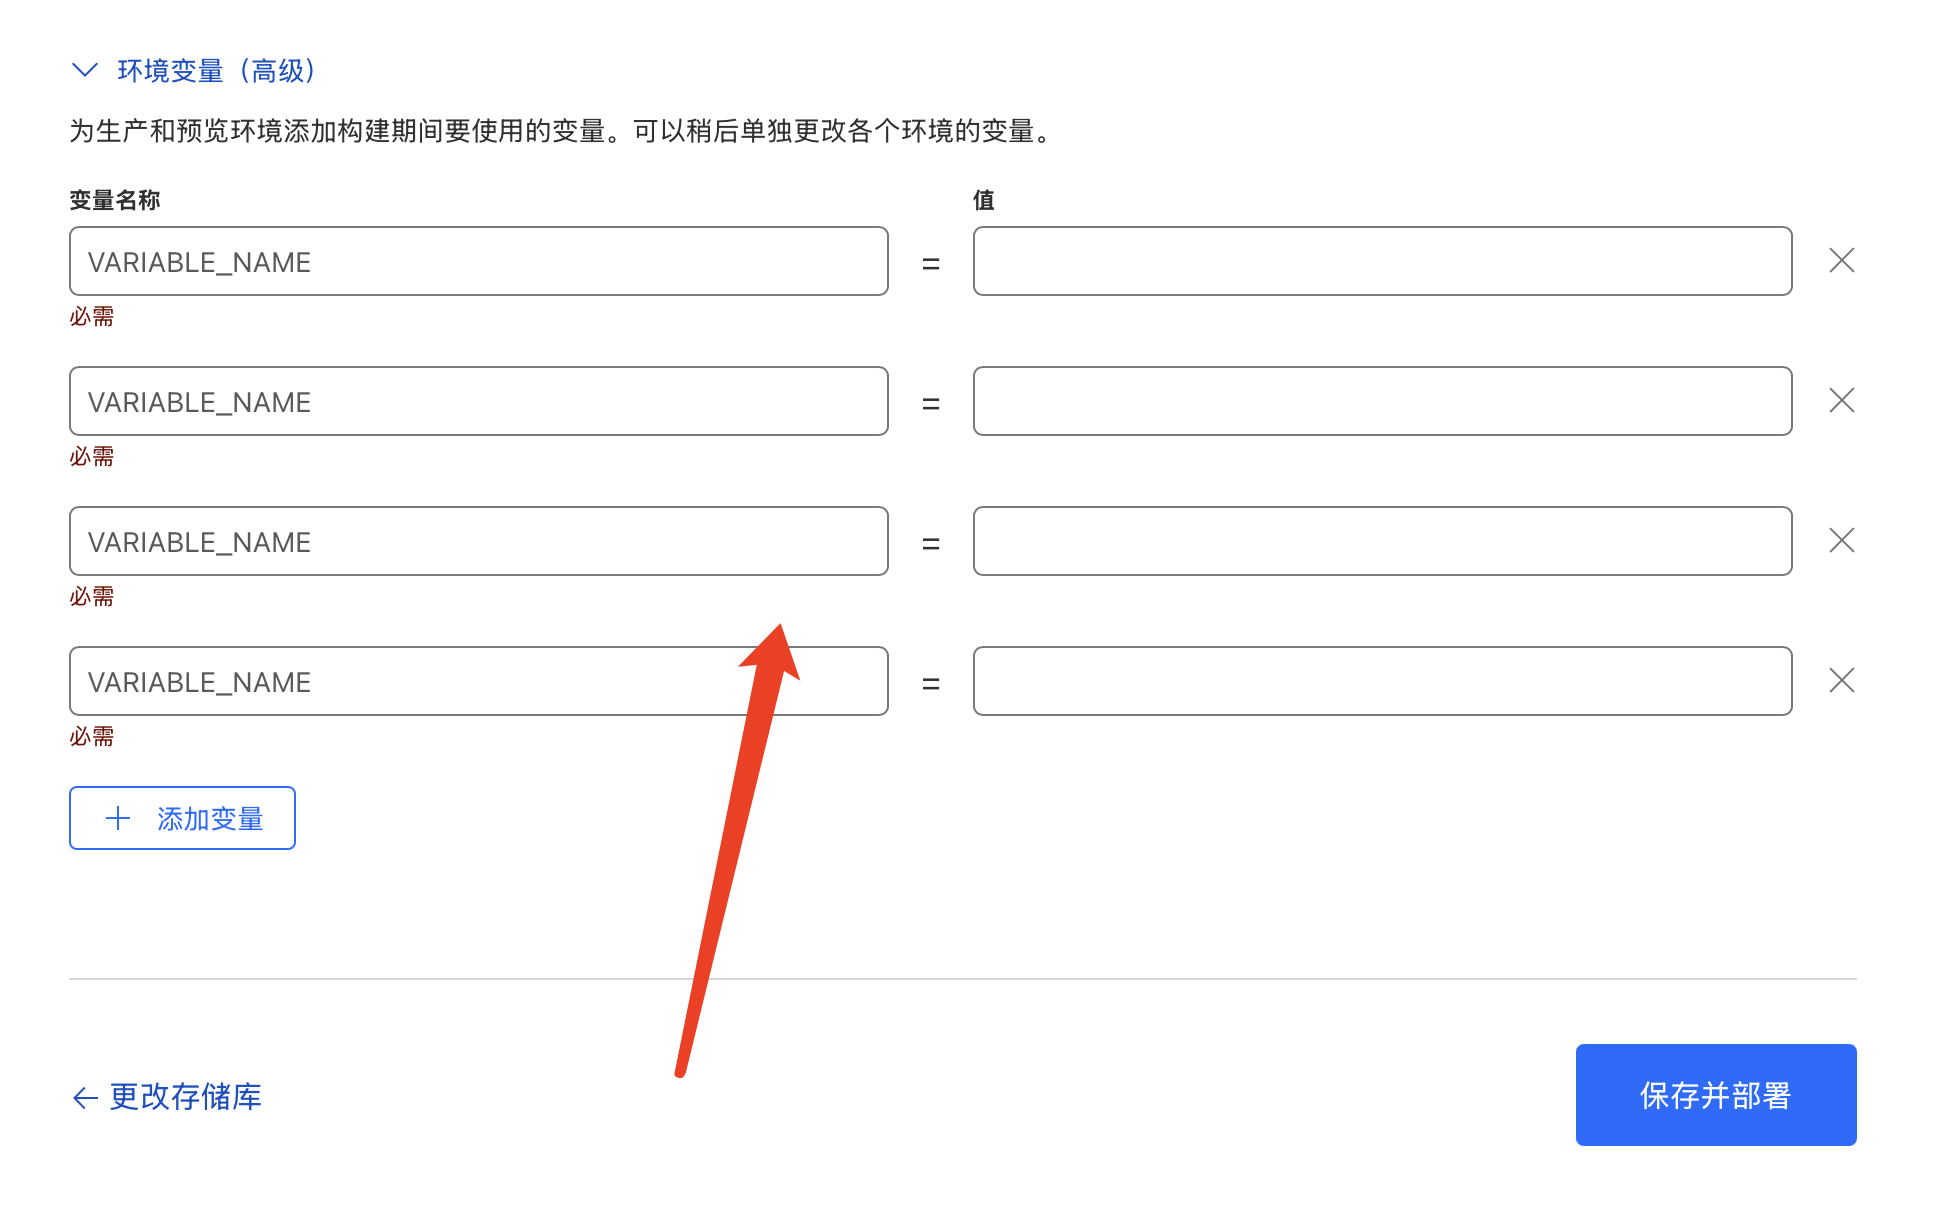
填写在这里。
最后保存并部署,绑定一个托管在cloudflare的域名即可。