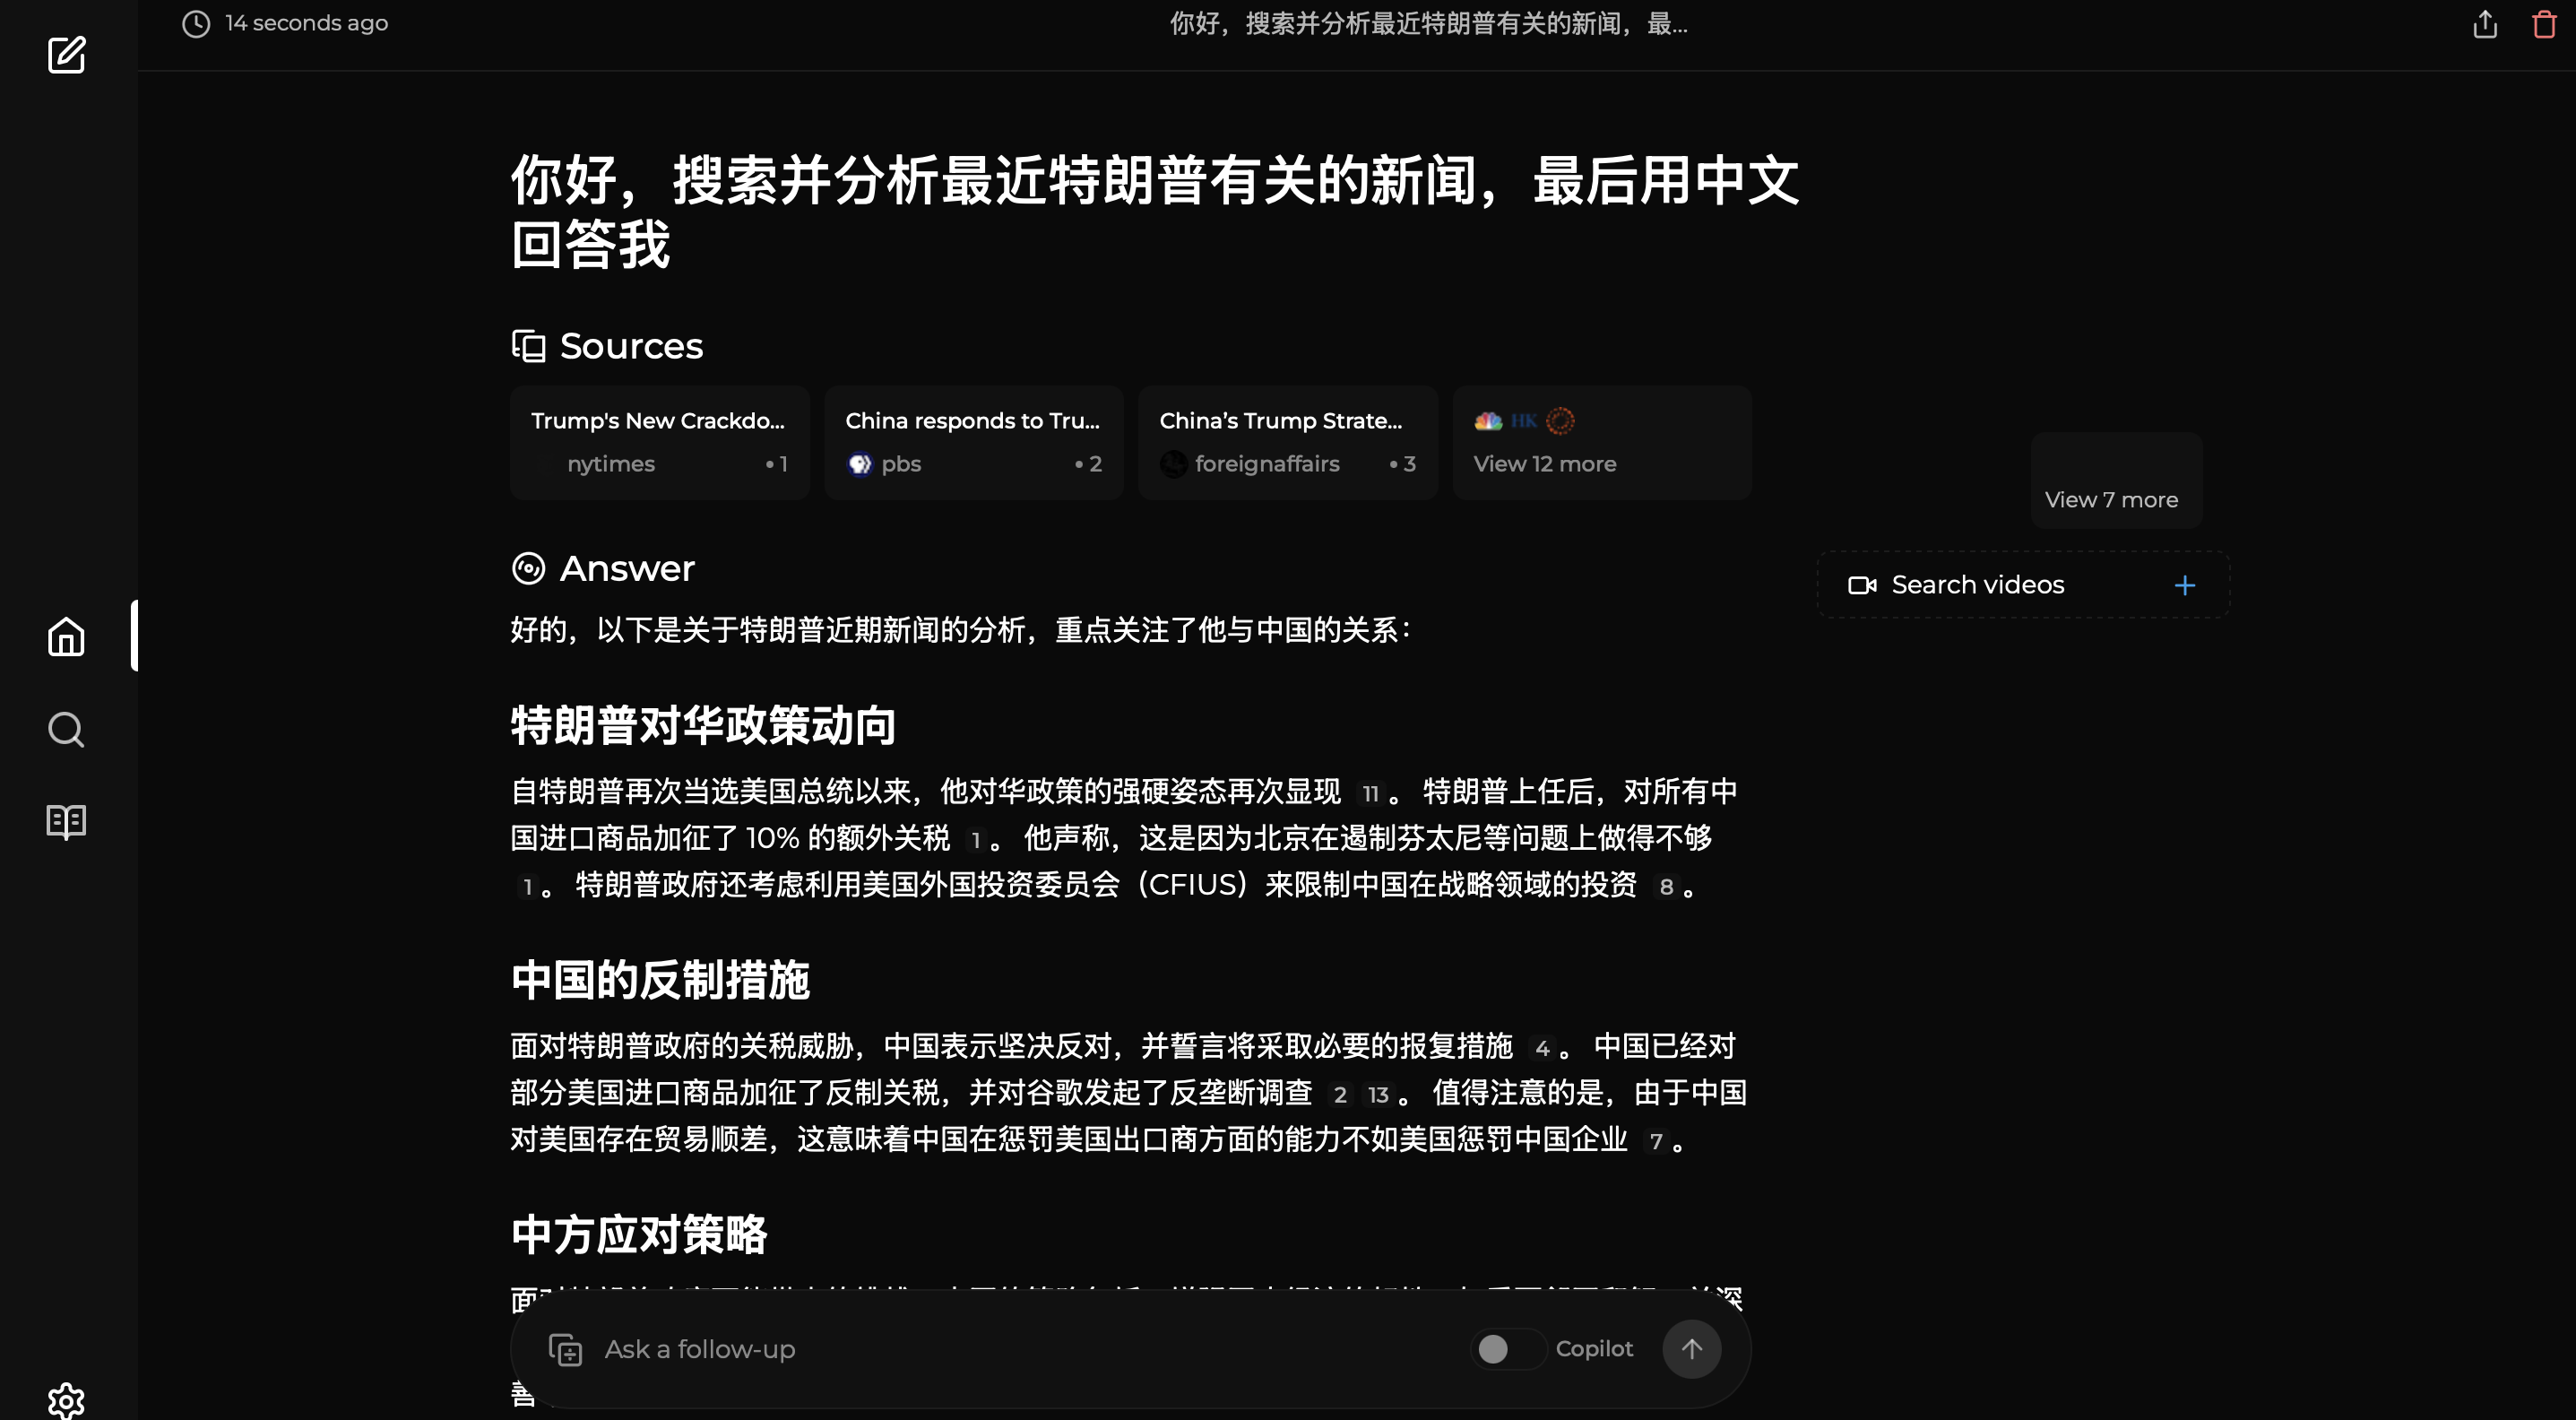
部署效果图

使用docker部署
-
务必确保您的系统已安装并运行 Docker。
-
克隆 Perplexica 仓库:
git clone https://github.com/ItzCrazyKns/Perplexica.git -
克隆完毕后,请进入包含项目文件的目录。
-
将
sample.config.toml文件重命名为config.toml。对于 Docker 设置,填写以下字段(至少填写一个,后续可以在前端网页设置):OPENAI: 您的 OpenAI API 密钥。如果您希望使用 OpenAI 的模型,则只需填写此项。OLLAMA: 您的 Ollama API URL。您应将其输入为http://host.docker.internal:PORT_NUMBER。如果您在端口 11434 上安装了 Ollama,请使用http://host.docker.internal:11434。对于其他端口,请相应调整。如果您希望使用 Ollama 的模型而不是 OpenAI 的模型,则需要填写此项。GROQ: 您的 Groq API 密钥。如果您希望使用 Groq 的托管模型,则只需填写此项。ANTHROPIC: 您的 Anthropic API 密钥。如果您希望使用 Anthropic 模型,则只需填写此项。
注意: 您可以在启动 Perplexica 后,从设置对话框中更改这些设置。
SIMILARITY_MEASURE: 要使用的相似度度量(默认已填写;如果您不确定,可以保持原样)。
-
确保您位于包含
docker-compose.yaml文件的目录中,并执行:docker compose up -d -
请耐心等待几分钟以完成设置。您可以在 Web 浏览器中通过 http://localhost:3000 访问 Perplexica。
修改配置文件
上面是官方的部署步骤,实际上问题有很多,就是没有配置反向代理,所有端口都得暴露在外面,才能正常运行,这时候我们需要配置反向代理,保证通过80/443端口就可以使网站服务运行。
修改docker-compose.yaml 文件
进入项目文件夹,修改docker-compose.yaml文件,(我一般都在1panel直接修改)
services:
  searxng:
    image: docker.io/searxng/searxng:latest
    volumes:
      - ./searxng:/etc/searxng:rw
    # 只在本地映射端口,不对外暴露
    ports:
      - 127.0.0.1:4000:8080
    networks:
      - perplexica-network
    restart: unless-stopped

  perplexica-backend:
    build:
      context: .
      dockerfile: backend.dockerfile
    image: itzcrazykns1337/perplexica-backend:main
    environment:
      # 通过内部网络访问 SearXNG
      - SEARXNG_API_URL=http://searxng:8080
    depends_on:
      - searxng
    # 只在本地映射端口,供 Nginx 访问
    ports:
      - 127.0.0.1:3001:3001
    volumes:
      - backend-dbstore:/home/perplexica/data
      - uploads:/home/perplexica/uploads
      - ./config.toml:/home/perplexica/config.toml
    extra_hosts:
      - 'host.docker.internal:host-gateway'
    networks:
      - perplexica-network
    restart: unless-stopped

  perplexica-frontend:
    build:
      context: .
      dockerfile: app.dockerfile
      args:
        - NEXT_PUBLIC_API_URL=https://back.abc.com/api
        - NEXT_PUBLIC_WS_URL=wss://back.abc.com   ##这里两个网址设置为你反代之后的后端的域名
    image: itzcrazykns1337/perplexica-frontend:main
    # 添加环境变量,确保运行时也能使用
    environment:
      - NEXT_PUBLIC_API_URL=https://back.starorigin.cc/api
      - NEXT_PUBLIC_WS_URL=wss://back.starorigin.cc
    depends_on:
      - perplexica-backend
    # 只在本地映射端口,供 Nginx 访问
    ports:
      - 127.0.0.1:3000:3000
    # 添加.env文件挂载
    volumes:
      - ./frontend-env:/home/perplexica/.env.local
    networks:
      - perplexica-network
    restart: unless-stopped

networks:
  perplexica-network:
    driver: bridge

volumes:
  backend-dbstore:
  uploads:
修改app.dockerfile
FROM node:20.18.0-alpine

# 定义参数
ARG NEXT_PUBLIC_WS_URL
ARG NEXT_PUBLIC_API_URL

# 设置环境变量 (构建时和运行时)
ENV NEXT_PUBLIC_WS_URL=${NEXT_PUBLIC_WS_URL}
ENV NEXT_PUBLIC_API_URL=${NEXT_PUBLIC_API_URL}

WORKDIR /home/perplexica

COPY ui/package.json ui/yarn.lock ./
RUN yarn install --frozen-lockfile

COPY ui .

# 输出环境变量用于调试
RUN echo "Building with API URL: $NEXT_PUBLIC_API_URL"
RUN echo "Building with WS URL: $NEXT_PUBLIC_WS_URL"

RUN yarn build

# 在启动命令中再次确保环境变量可用
CMD ["yarn", "start"]
修改backend.dockerfile
FROM node:18-slim

WORKDIR /home/perplexica

COPY package.json yarn.lock ./
RUN yarn install --frozen-lockfile --network-timeout 600000

COPY src ./src
COPY tsconfig.json drizzle.config.ts ./

RUN yarn build

CMD ["yarn", "start", "--host", "0.0.0.0"]
增加一个变量文件frontend-env
在1panel面板的Perplexica目录下创建一个文件,名为frontend-env
内容是:
NEXT_PUBLIC_API_URL=https://back.abc.com/api
NEXT_PUBLIC_WS_URL=wss://back.abc.com
这里面的网址就是你的后端的API的地址。
注意事项
这个项目部署后会生成三个容器,对应三个端口。
| 第 1 列 | 第 2 列 | 第 3 列 |
|---|---|---|
| 端口名 | 容器名 | 作用 |
| 3000 | perplexica-perplexica-frontend-1 | 前端网页 |
| 3001 | perplexica-perplexica-backend-1 | 后端API服务 |
| 4000 | perplexica-searxng-1 | 搜索引擎服务 |
这个4000端口,反代一个网址后,会有一个搜索引擎服务。
如下图